Pi-hole v6 Setup Guide for Raspberry Pi
Pi-hole is a DNS-based ad blocker for your whole network.
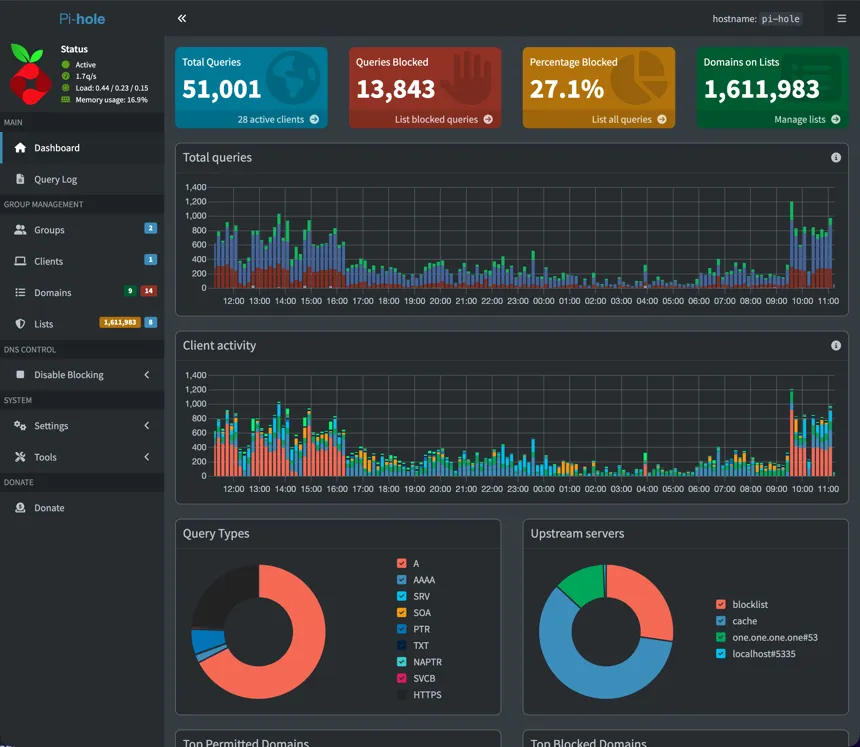
What Pi-hole does
Section titled “What Pi-hole does”When a device on your network tries to access something from the internet, it checks in with Pi-hole first. Pi-hole checks the address against a list you’ve configured, and if that resource isn’t on the list, it allows the device to connect.
Usually, the website itself still loads while the ads and trackers get blocked.
Unlike a browser extension, Pi-hole works on almost every device on your network: phones, smart TVs, game consoles, and guests’ devices, without needing to install anything. It can also block known malware domains, phishing sites, and telemetry endpoints. Blocking ad server requests before they’re made can also speed up page loads.
Pi-hole limitations
Section titled “Pi-hole limitations”Pi-hole works at the DNS level (DNS Reddit ELI5).
It sees the domain name but not the URL or content, so it can’t distinguish between types of content on the same domain.
youtube.com is either blocked entirely or not at all.
Some streaming services serve ads through the same domains as their content, which can make them impossible to fix without breaking playback.
For most other services, you can add service-specific rules to the allowlists when you get to that page, or skip ahead if that’s your main use case.
You can set up a Pi-hole to reduce the advertising noise of the internet. But if you’re looking for a way to remove the essay before a recipe, this isn’t it.
Why this guide exists
Section titled “Why this guide exists”Due to some hardware issues in the past, I’ve had to rebuild this setup several times, collecting steps from around the internet each time. This guide is a collection of my notes, organized into documentation to help other people set up or rebuild their Pi-hole.
The steps in this guide document how I set up Pi-hole v6 with:
- Raspberry Pi running Raspberry Pi OS (64-bit)
- UFW firewall
- HaGeZi tiered blocklists with supplementary category lists
- Allowlists for streaming and smart TV platforms
- Omada controller DHCP configured for network-wide blocking
- Optional:
- Teleporter backup for configuration export/restoration
- Unbound recursive DNS with Cloudflare as fallback
- Netdata system and Pi-hole monitoring
- Tailscale for remote admin access and to make the Pi-hole act as a personal VPN
- More restrictive groups for specific devices
Visit the official Pi-hole documentation for more use cases and details.
This guide is written for Pi-hole v6 as an opinionated copy-and-paste solution that a relative novice can follow from beginning to end or use as a reference.
If you have Pi-hole v5 installed, many of the concepts remain the same in v6. You can still access the older version of this guide on GitHub.
If you identify any errors or areas for improvement, submit a GitHub issue or select Edit page at the bottom of any page to suggest a change.
Prerequisites
Section titled “Prerequisites”- Access to your router’s configuration.
-
This is required if you want devices on your network to use the Pi-hole.
-
Some routers have a sticker with their admin information. You can also try some common router IPs like
192.168.1.1.This is usually your gateway IP.
-
- Raspberry Pi
- You can use another always-on device on your local network, or even a VPS. Most of the steps in this guide will still work, but that’s outside this guide’s scope and some steps might differ.
- microSD card, 8 GB or larger, with a way to plug it into your computer.
- Familiarity with a terminal and the command line, or at least comfort following terminal commands. Most commands in this guide can be copied and pasted, and I try to explain the ones that can’t be.
In this guide
Section titled “In this guide”- Set Up Raspberry Pi OS
- Flash the SD card, harden the OS with UFW and Fail2Ban, set a static IP.
- Install Pi-hole v6
- Run the installer, set a password, and optionally add unbound and Netdata.
- Add Blocklists and Allowlists
- Choose a blocklist tier, add supplementary lists, allowlist streaming services and smart TVs, and use groups to control blocking per device (including how to bypass Pi-hole for a specific device or apply stricter rules for a child’s device).
- Enable Network-Wide DNS Blocking with Pi-hole
- Configure router DHCP so every device uses Pi-hole for DNS, including devices with hardcoded DNS like Chromecast or some smart TVs.
- Use Pi-hole as a VPN to Block Ads on the Go with Tailscale
- Block ads on your phone and laptop anywhere, remote admin access, no port forwarding required.
- Pi-hole Maintenance and Advanced Configuration
- Update Pi-hole, export/import backups with Teleporter, tune
pihole.toml, offload logs to a USB drive.
- Update Pi-hole, export/import backups with Teleporter, tune
- Troubleshooting
- Fix common installation issues, DNS failures, broken streaming services, Gravity errors, and Tailscale DNS problems.
- Give Claude Code Access to Pi-hole Logs and Diagnostics
- Grant read-only access to the query database and logs with POSIX ACLs, optionally under a dedicated unprivileged user.